How to Replace the Elements in FWE LCH-G2 Units
A step-by-step tutorial for Replacing the Elements in LCH-G2 Units
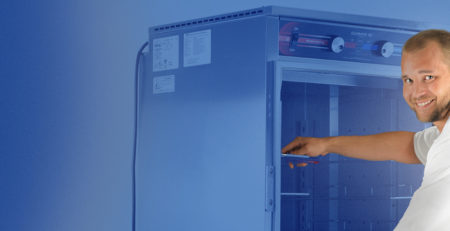
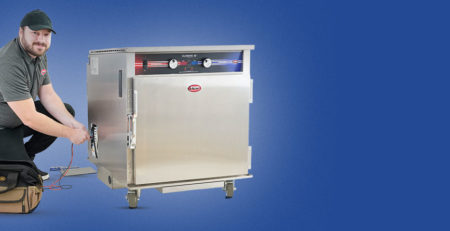
In the food service industry, equipment breakdowns can cause major disruptions to operations leading to lost revenue and frustrated customers. FWEParts step-by-step tutorials are here to provide easy-to-follow guides that will help you can get your equipment back into operation as quickly as possible. In this article, we will introduce a service video that provides a step-by-step tutorial to easily Replace the Heating Elements used on FWE LCH-G2 units. If you are still experiencing issues with this, or any other part, please do not hesitate to reach out via phone at 1-615-805-3270 or email at [email protected] if you have any questions or concerns
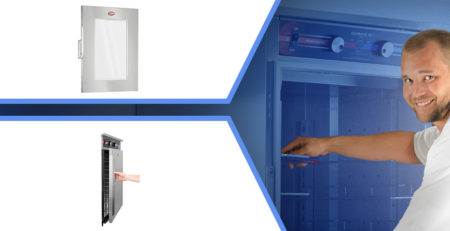
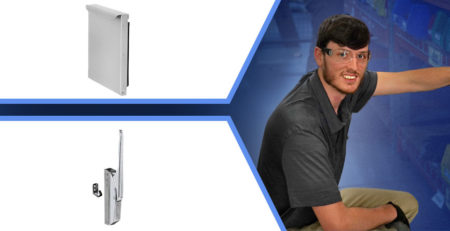
Parts Covered in this Tutorial
Tools Needed
- Driver Drill with #2 Phillips Bit
- 5/16″ Nut Driver
- 1/4″ Nut Driver
- 11/16″ Socket Wrench
Steps
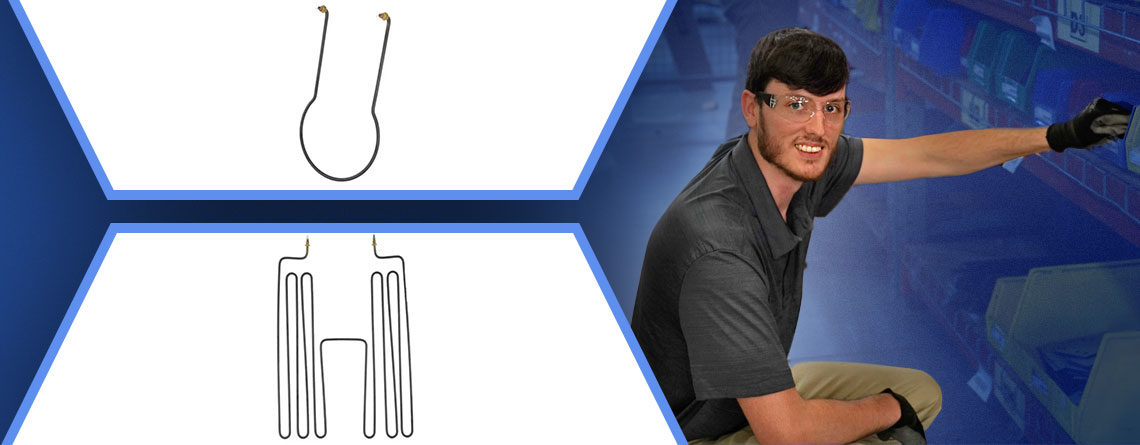
Replacing Rear Element
0:20 | Step 1: Open the unit’s door and remove the racks, tray slides, drip pan, tray uprights, and bottom heat shield.
0:42 | Step 2: Remove the back tunnel to expose the rear element.
0:50 | Step 3: Remove the outside back panel and locate the element terminals (2 inside terminals).
0:58 | Step 4: Disconnect the element wire connections. Remove nuts and washers and pull out the element from inside the unit. Discard the old element.
1:15 | Step 5: Install the new element through the inside unit around the blower fan, locking it in place with nuts and washers removed in step 4.
1:26 | Step 6: Reconnect the element connections and reinstall the back tunnel.
1:35 | Step 7: Restore power and test unit for operationality.
1:42 | Step 8: Reinstall the outside back panel, heat shield, tray uprights, tray slides, drip pan, and racks. Return unit to service.
Replacing Bottom Element
2:07 | Step 1: Open the unit’s door and remove the racks, tray slides, and drip pan.
2:24 | Step 2: Remove tray uprights and heat shield to expose the bottom element and element strap. Remove the strap and set aside.
2:38 | Step 3: Remove the outside back panel and locate the 2 outside element terminals.
2:46 | Step 4: Disconnect the element wire connections. Remove the nuts and washers and pull out the element from inside the unit. Discard the old element.
2:59 | Step 5: Install the new element through the inside of the unit, remounting the strap over the element with the screws removed in Step 2. Lock the element in place with the nuts and washers removed in Step 4.
3:15 | Step 6: Reconnect the element wire connections.
3:23 | Step 7: Restore power and test the unit for operationality.
3:30 | Step 8: Reinstall the outside back panel, heat shield, tray uprights, tray slides, drip pan, and racks. Return unit to service
In the food service industry, equipment breakdowns can be disruptive and costly. That’s why FWEParts is committed to providing step-by-step tutorials that make equipment repairs a breeze. If you’re facing issues replacing the elements used within FWE LCH-G2 units, our service video offers a comprehensive guide to easily troubleshoot it using common tools. We’re here to support you every step of the way, so don’t hesitate to reach out to us at 1-615-805-3270 or [email protected] if you have any questions or concerns. For a full list of video tutorials for FWE parts, check out this youtube playlist.