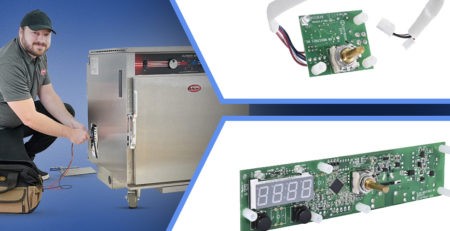
How To Replace A Blower Motor On An FWE Top Mount System
A step-by-step tutorial for replacing the blower motor on FWE top-mounted heating system units.
In the food service industry, equipment breakdowns can cause major disruptions to operations leading to lost revenue and frustrated customers. FWEParts step-by-step tutorials are here to provide easy-to-follow guides that will help you can get your equipment back into operation as quickly as possible. Replacing the blower motor is a relatively simple repair that can be done in-house with the right tools and guidance. In this article, we’ll introduce a new service video that provides a step-by-step tutorial on how to replace a blower motor in an FWE top-mounted heating system unit. Please do not hesitate to reach out via phone at 1-615-805-3270 or email at [email protected] if you have any questions or concerns.
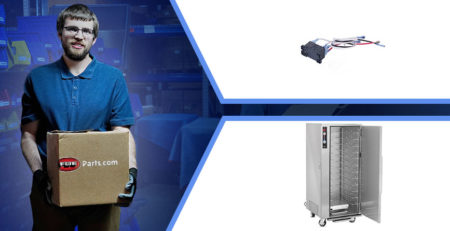
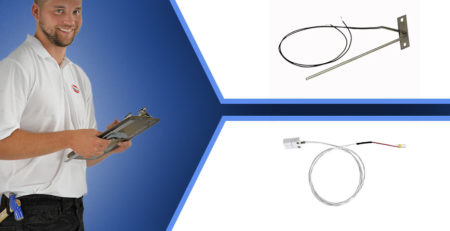
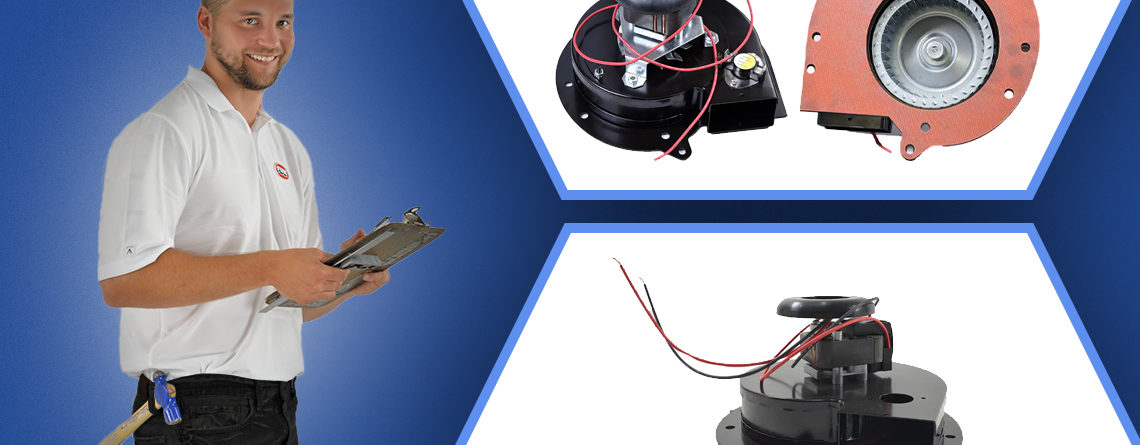
Parts Covered in this Tutorial:
Tools Needed
- Driver Drill with #2 Phillips Bit
- Wire Cutters/Strippers
- #2 Phillips Screwdriver
- 5/16″ Nut Driver
Steps
0:00 | Make sure to turn off the power to the unit and disconnect it from the wall socket before servicing.
0:19 | Step 1 – Remove screws and set aside the top cover.
0:29 | Step 2 – Remove screws and the two black wires connected to the motor from the terminal block (Cut zip ties to free black wires if necessary)
0:45 | Step 3 – Disconnect the ground wire and the two black power wires connected to the snap disk on the blower motor output.
0:50 | Step 4 – Remove the covering of the blower motor.
1:01 | Step 5 – Remove the screws that fasten the motor housing to the unit using a 5/16″ nut driver. Save screws for installing the new motor.
1:10 | Step 6 – Lift the motor by tilting up and pulling out. Discard the damaged motor.
1:17 | Step 7 – Install the new motor. Secure with the screws that were removed in Step 5 with a 5/16″ nut driver.
1:30 | Step 8 – Replace the covering that was removed in Step 4.
1:37 | Step 9 – Reconnect the two black blower motor power wires to the terminal block that were removed in Step 2. (Zip tie wiring if applicable)
1:53 | Step 10 – Reconnect power wires to the snap located on the blower motor output. Reconnect the ground wire to the blower motor.
2:05 | Step 11 – Test the functionality of the unit. Reinstall the top cover and return the unit to service.