How to Install a Retrofit Relay Kit (Z-500-1056) in FWE MTU Series Cabinets
A step-by-step tutorial for Installing a Retrofit Relay Kit
In the food service industry, equipment breakdowns can cause major disruptions to operations leading to lost revenue and frustrated customers. FWEParts step-by-step tutorials are here to provide easy-to-follow guides that will help you can get your equipment back into operation as quickly as possible. In this article, we will introduce a service video that provides a step-by-step tutorial to easily Troubleshoot an ELAN (T-STAT ELE) Control Board used on FWE units. If you are still experiencing issues with this, or any other part, please do not hesitate to reach out via phone at 1-615-805-3270 or email at [email protected] if you have any questions or concerns.
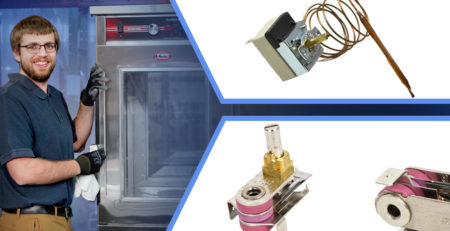
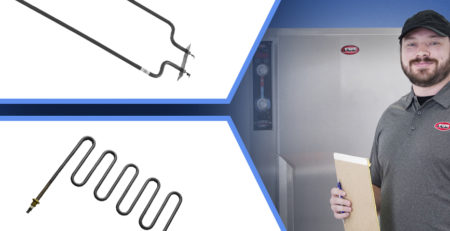
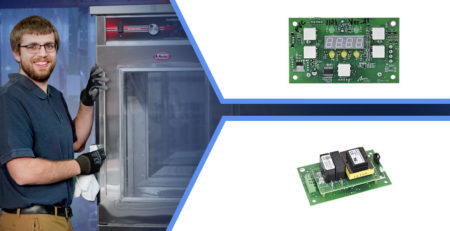
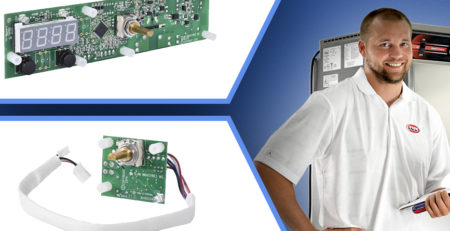
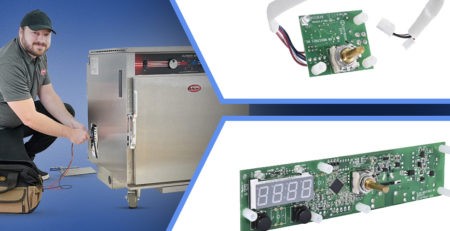
Part Covered in this Tutorial
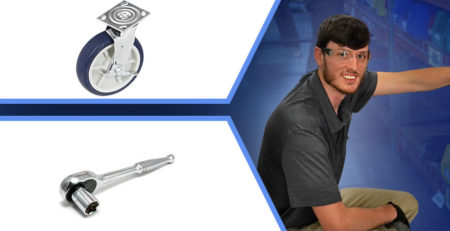
Tools Needed
- Driver Drill with #2 Phillips Bit
- 1/4″ Nut Driver
Steps
0:00 | Introduction
0:11 | Step 1 – Unplug unit and remove from service
0:16 | Step 2 – Open the packaging and locate relay assembly with included wiring harness and wiring diagram.
0:22 | Step 3 – Remove side panel from the unity and locate terminal block and element.
0:29 | Step 4 – Remove existing wire (left side) from the element terminal and remove the terminal block,. Discard Wire.
0:36 | Step 5 – Install the new wire (Wire #33) from the relay coil to the terminal block position #3 where the wire was removed from in step 4.
0:43 | Step 6 – Remove the existing red wire (Wire #4) from the element terminal (Right side) and install on the other side of the relay coil.
0:54 | Step 7 – Install black wire (Wire #30) on the terminal block position #2 where the incoming line power from cord is connected.
1:09 | Step 8 – Install white wire (Wire #34) on the terminal block position #4 where the incoming neutral line from the cord is connected.
1:18 | Step 9 – Install the red wire (Wire #31) onto the right side element terminal.
1:24 | Step 10 – Install White wire (Wire #32) onto the left side element terminal.
1:31 | Step 11 – Route wiring so it does not interfere with rear fan blade on the motor.
1:39 | Step 12 – Mount the relay to the bottom of the compartment with your choice of fastener. (Zip screws recommended)
1:49 | Step 13 – Restore power and test the unit for operationality.
1:55 | Step 14 – Reinstall side panel and return unit to service.
In the food service industry, equipment breakdowns can be disruptive and costly. That’s why FWEParts is committed to providing step-by-step tutorials that make equipment repairs a breeze. If you’re facing issues with installing retrofit kits, or anything other issue you may face, our service video offers a comprehensive guide to easily troubleshoot it using common tools. We’re here to support you every step of the way, so don’t hesitate to reach out to us at 1-615-805-3270 or [email protected] if you have any questions or concerns. For a full list of video tutorials for FWE parts, check out this youtube playlist.