09Mar
Service Bulletin: How to Replace A Control Panel On An FWE RH 220V Unit
A Step-by-Step Guide to Replacing an FWE RH 220V Control Panel.
Tools Used in this Tutorial
- Replacement Control Panel: Z-500-1039
- Driver Drill with #2 Phillips Bit
- 5/16″ Nut Driver
- 1/4″ Nut Driver
- Pin Screw Driver
Detailed Installation Instructions
- Unplug the unit from the power source.
- Remove the top cover.
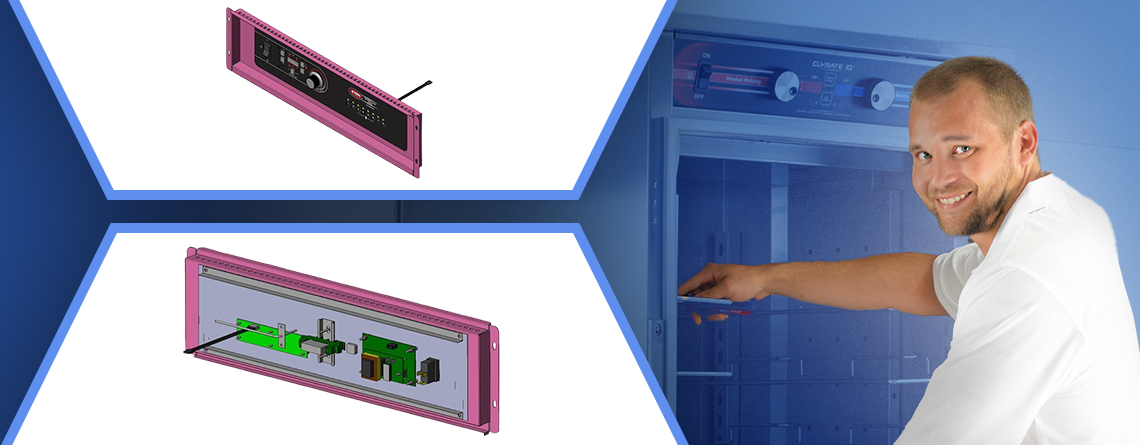
- Locate the four nuts on the back of the control panel (see Figure 1).
- Remove the four nuts.
- Verify the control board is loose and that no other fasteners are securing it.
- Locate the new control board assembly.
- Position the new control board assembly on top of the existing control board.
- Remove one wire at a time from the old control board and transfer it to the same location on the new control board. Refer to the wire diagram on page 2.
- After all wires have been transferred, remove the old control board and set it aside.
- Align the new control board with the four mounting holes referenced in Step 3.
- Reinstall the nuts and washers removed in Step 4.
- Remove the old temperature probe from inside the unit.
- Install the new temperature probe inside the unit.
- Connect the temperature probe wires to the control board. Refer to the wire diagram below.
- If equipped with a meat probe, connect the meat probe wires to the control board. Refer to the wire diagram below.
- Verify all wires are properly connected and routed. Refer to the wire diagram below.
- Restore power and verify proper operation of the new control board.
- Once testing is complete, power the unit off and remove any test equipment.
- Reinstall the top cover and return the unit to normal operation.
Need Assistance?
If you need further guidance or replacement parts, contact FWE’s support team at 800-222-4393 or [email protected] for personalized help. Your success is our priority, and we’re just a call or email away.