11Dec
Service Bulletin: How to Replace A Blower Motor On An FWE Top Mount System
A Step-by-Step Guide to Replacing an FWE Top Mount Blower Motor.
Priority Service Notes:
- Note where the wires connect to the terminal block.
- Make sure no insulation gets into the unit’s cavity during replacement.
- Make sure the blower motor is seated correctly before tightening down the nuts.
Tools Used in this Tutorial
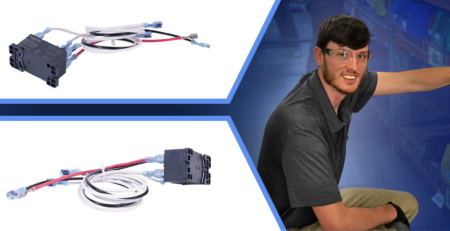
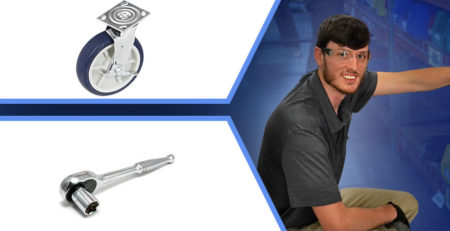
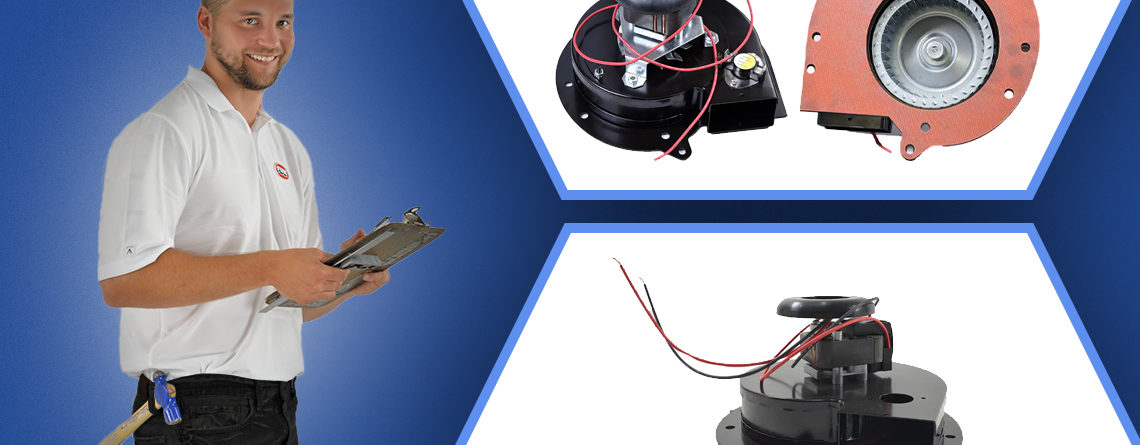
- Replacement Blower Fan: View Parts
- Driver Drill with #2 Phillips Bit
- Wire Cutters/Strippers
- 5/16″ Nut Driver
Detailed Installation Instructions
- Power the unit off and unplug it from the outlet.
- Remove the top from the unit.
- Locate the blower motor wire connection on the terminal block.
- Take note of the location on the terminal block.
- Remove the wires from the terminal block.
- Disconnect the wires from the snap disc on the blower motor.
- Locate the mounting nuts that hold the blower motor in place and remove them.
- Carefully remove the blower motor from the unit.
- Take extra care not to get any insulation into the unit cavity.
- Once removed, inspect the blower motor mounts to ensure they are in good working order.
- Install the new blower motor onto the mounting bolts.
- Take care to align everything correctly.
- Using the nuts removed in step 6, mount the blower motor to the unit.
- Connect the wires that were removed from the snap disc in step 5.
- Route blower motor power wires to the terminal block.
- Connect wires in the same locations as removed in step 4.
- Secure any loose wires and replace all safety covers.
- Plug the unit in and check the blower motor operation.
- Once the unit passes all tests, turn the unit off and remove all testing equipment.
- Replace the top cover and return the unit to normal operation.
Need Assistance?
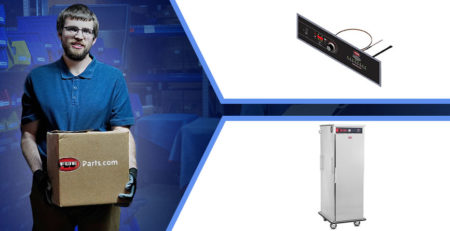
If you need further guidance or replacement parts, contact FWE’s support team at 800-222-4393 or [email protected] for personalized help. Your success is our priority, and we’re just a call or email away.