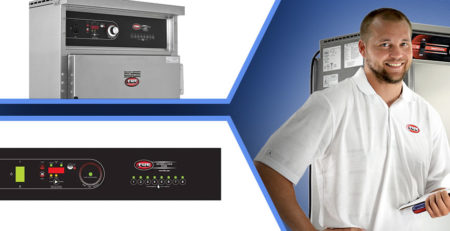
How to Troubleshoot an ELAN (T-STAT ELE) Control Board for FWE Equipment
A step-by-step tutorial for Troubleshooting an ELAN Control Board
In the food service industry, equipment breakdowns can cause major disruptions to operations leading to lost revenue and frustrated customers. FWEParts step-by-step tutorials are here to provide easy-to-follow guides that will help you can get your equipment back into operation as quickly as possible. In this article, we will introduce a service video that provides a step-by-step tutorial to easily Troubleshoot an ELAN (T-STAT ELE) Control Board used on FWE units. If you are still experiencing issues with this, or any other part, please do not hesitate to reach out via phone at 1-615-805-3270 or email at [email protected] if you have any questions or concerns.
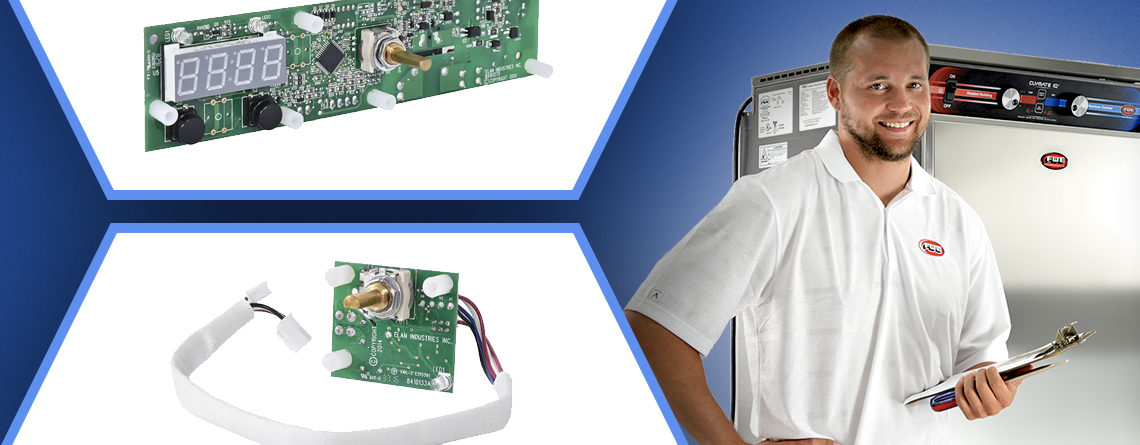
Parts Covered in this Tutorial
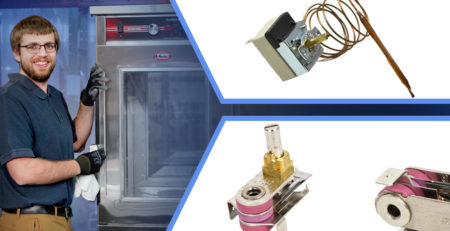
Tools Needed
- Driver Drill with #2 Phillips Bit
- 5/16″ Nuts Driver
Steps
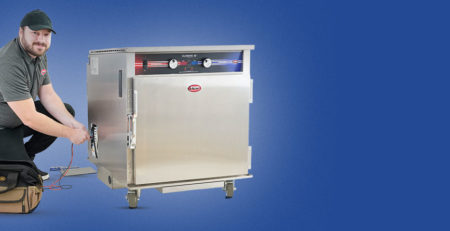
Checking Dip Switch Setting
0:22 | Step 1: Remove the top cover screws and set the cover aside.
0:28 | Step 2: Locate the control board inside the top of the unit.
0:35 | Step 3: Locate the dip switches on the back side of the control board.
0:41 | Step 4: Ensure the correct dip switch setting for the unit is set.
0:58 | Step 5: Power on the unit and test the operation of the temperature range, temp recall button, and low temp alarm button.
1:10 | Step 6: Once operationality is confirmed, reinstall the top cover with the screws removed in step 1 and return the unit to service.
User Offset Temperature Adjustment
1:19 | Step 1: Rotate the knob to the off position. Press and hold the “Temp Recall” key for 10 seconds until the display reads “Ofst”.
1:42 | Step 2: Rotate the knob to desired offset setting. Example: To make the unit 10° colder, rotate it to 10°F.
1:48 | Step 3: Press “Temp Recall” to accept the new offset. (After 5 seconds without pressing, the unit will revert to the previous temperature settings)
Temperature Lock
1:53 | Step 1: Rotate the knob to the desired temperature setting.
2:04 | Step 2: Press the “Temp Recall” button 3 times in 3 seconds. (Control will beep)
2:09| Step 3: Press and hold the “Temp Recall” button for 30 seconds. After 30 seconds, the display will show “Loc” and “tep” in succession. The dot displayed in the upper left sign also that the temperature setting is locked. To unlock the temperature setting, repeat Steps 1 – 3.
Changing Temperature Display from °F to °C
2:27 | Step 1: Rotate the knob to the off position and flip the power switch to the “off” position.
2:40 | Step 2: While pressing and holding the “Temp Recall” button, flip the power switch to the “on” position. The display will show the desired temperature unit. To change back to °F, repeat steps 1 and 2.
Adjusting Low Temp Alarm
3:00 | Step 1: Rotate the knob to the off position. Press and hold the “Low Temp Alarm” button for 6 seconds. The display will show “LtA” and flash the Low Temp Alarm setting. (Off will be displayed if not previously set)
3:21 | Step 2: Rotate the knob to the desired temperature setting. Turn below the minimum setting for the unit to turn off.
3:30 | Step 3: Once the desired Low Temp Alarm setting is shown, press the “Low Temp Alarm” button to accept.
Changing Display form Set Temperature to Actual Temperature
3:40 | Step 1: Factory default displays the “Set Point Temperature.” To Display the Actual Temperature, press and hold the “Temp Recall button for 3 seconds. The display will show “Act”. Press the “Temp Recall” button will now show the “Set Point Temperature.” Press and hold the “Temp Recall” button again to change the display back to the “Set Point” temperature.
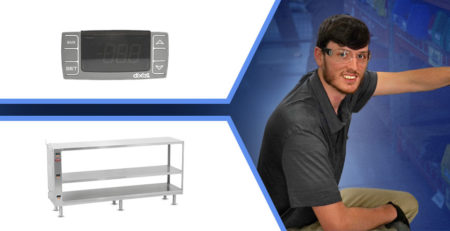
Service Error Codes
4:02 | View various error codes
| FWE Error Code Display | Error Description | Error Definition Comments | Control Response | Reset |
| E-10 | Sensor 0 Shorted | Sensor short determined | Control: Relay OFF Display: Flash error code Beeper: Error beep | Auto-reset when the sensor short is resolved. |
| E-11 | Sensor 0 Open | Resistance >3000 ohm (sensor not connected) | Control: Relay OFF Display: Flash error code Beeper: Error beep | Auto-reset when the the good probe is attached. (i.e. valid reading) |
| E-30 | Under Temperature | 25°F under Set Point Temperature for 90 Minutes | Control: Function Normal Display: Flash error code Beeper: Error beep | Auto-reset when the temp rises above the Under Temp alarm condition. |
| E-31 | Over Temperature | OVEN: 145°F over max temp range for the model. no delay. | Control: Relay OFF Display: Flash error code Beeper: Error beep | Auto-reset when the temperature <145°F over max temp range. |
| E-38 | Internal Software Error | Internal Software Error | Control: Relay OFF Display: Flash error code Beeper: Error beep | Call Factory |
| E-39 | Sensor Error | Board level RTD temp circuit hardware error | Control: Relay OFF Display: Flash error code Beeper: Error beep | Call Factory |
| E-70 | Configuration Connector Error (Dip Switch) | Dip switch error: no set to model or invalid model | Control: Relay OFF Display: Flash error code Beeper: Error beep | Correct Dip switch. Turn control OFF, then ON. |
| E-83 | EEPROM Error | Bad checksum | Control: Relay OFF Display: Flash error code Beeper: Error beep | Reset by performing calibration. |
| E-90 | Key Shorted | Any key > 1 min shorted | Control: Relay OFF Display: Flash error code Beeper: Error beep | Reset when key no longer shorted. |
In the food service industry, equipment breakdowns can be disruptive and costly. That’s why FWEParts is committed to providing step-by-step tutorials that make equipment repairs a breeze. If you’re facing issues with the ELAN Control Board used in many FWE units, our service video offers a comprehensive guide to easily troubleshoot it using common tools. We’re here to support you every step of the way, so don’t hesitate to reach out to us at 1-615-805-3270 or [email protected] if you have any questions or concerns. For a full list of video tutorials for FWE parts, check out this youtube playlist.